Removing labels from glass jars can be a surprisingly challenging task if you don’t know the right techniques. Whether you want to reuse jars for storage, crafts, or resale, having a clean, label-free surface is essential. Labels often leave behind stubborn adhesive residues that can be frustrating to remove. Fortunately, there are many easy and effective methods to cleanly remove labels and glue from glass jars without damaging the glass.
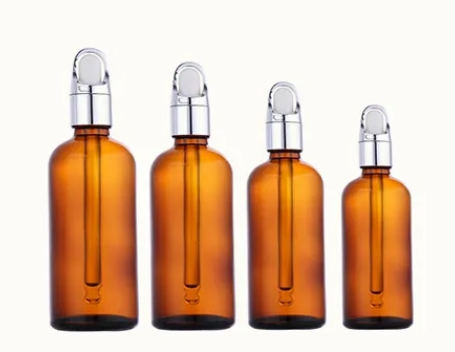
AtPaupacking, we specialize in premium-qualityGlass Bottlesand jars designed for multiple uses—from food packaging to cosmetics and crafts. We understand the importance of maintaining the pristine look of glass jars, which is why we want to share expert tips on how to remove labels effortlessly. This comprehensive guide will help you master the art of label removal with easy, practical, and eco-friendly solutions.

Why Remove Labels from Glass Jars?
Before diving into the methods, it’s worth understanding why removing labels from glass jars matters:
1. Reusability and Sustainability
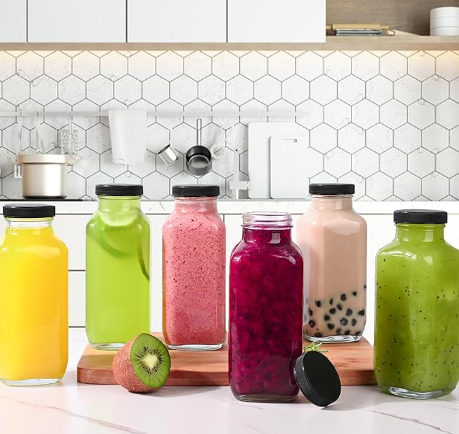
Glass jars are incredibly versatile and can be reused countless times, reducing the need for new containers and minimizing waste. Removing labels ensures that the jars look clean and fresh, making them suitable for storing food, homemade jams, spices, or craft supplies. Using jars without labels also promotes sustainability by encouraging reuse rather than disposal.
2. Aesthetic and Presentation
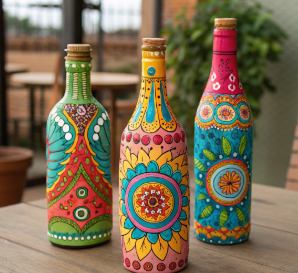
If you’re using glass jars for gifts, homemade products, or decorative purposes, labels can detract from their visual appeal. A smooth, label-free glass surface looks elegant and professional. This is especially important if you want to customize the jar with your own branding or artwork.
3. Avoiding Contamination and Odors
Old labels and adhesives can trap dirt, bacteria, or unpleasant odors, which could contaminate the contents of the jar. Removing labels thoroughly helps maintain hygiene and ensures your jars are safe for food storage or cosmetic use.
4. Customization and Branding
For businesses or DIY enthusiasts, removing original labels allows you to apply your own labels or designs. At Paupacking, ourGlass Bottlesprovide a perfect blank canvas for personalized branding, making label removal an essential first step.
Detailed Methods to Remove Labels from Glass Jars
Each method has its own advantages and is suited for different types of labels and adhesives. We will explore each method in detail, including step-by-step instructions, tips, and precautions.
1. Soaking in Hot Soapy Water
Why It Works
Hot water softens the paper label and dissolves the adhesive, making it easier to peel off. Dish soap helps break down the glue and removes oily residues.
Step-by-Step Process
-
Prepare the Soaking Solution:Fill a sink, basin, or large bowl with hot water. The water should be as hot as you can safely handle (usually around 50-60°C or 120-140°F). Add a generous amount of dish soap—preferably a grease-cutting formula.
-
Submerge the Jar:Fully immerse the glass jar in the soapy water. If the jar floats, place a small plate or lid on top to keep it submerged.
-
Wait Patiently:Let the jar soak for at least 20-30 minutes. For very stubborn labels, soaking for up to an hour can help.
-
Peel the Label:After soaking, try peeling the label from one corner. Use your fingers or a plastic scraper to lift it gently. The paper should come off easily.
-
Remove Residue:If any adhesive remains, scrub the area with a sponge or cloth dipped in the soapy water.
-
Rinse and Dry:Rinse the jar with clean water and dry it with a towel.
Tips for Success
-
For very thick or laminated labels, soaking may take longer.
-
Avoid metal scrapers to prevent scratching the glass.
-
This method is safe, non-toxic, and environmentally friendly.
When to Use This Method
This is the best first approach for most jars with paper labels and water-soluble adhesives. It’s ideal for those who want a chemical-free solution.

2. Baking Soda and Cooking Oil Paste
Why It Works
Baking soda is a mild abrasive that helps break down glue, while cooking oil softens the adhesive. Together, they create a paste that effectively loosens sticky residues.
Step-by-Step Process
-
Make the Paste:Mix equal parts baking soda and vegetable oil (such as olive oil, coconut oil, or sunflower oil) in a small bowl until you get a thick, spreadable paste.
-
Apply Generously:Spread the paste over the glue residue or label area using a cloth or your fingers.
-
Let It Sit:Allow the paste to sit for 15-30 minutes. This gives the baking soda time to work on the adhesive.
-
Scrub Gently:Using a sponge, cloth, or soft brush, scrub the paste in circular motions to lift the glue.
-
Wipe and Wash:Wipe off the paste with a clean cloth, then wash the jar with warm soapy water to remove any oily residue.
-
Dry the Jar:Rinse well and dry with a towel.
Tips for Success
-
If the residue is very stubborn, repeat the application.
-
Use vegetable oil rather than mineral oil or petroleum-based oils for food-safe jars.
-
This method is non-toxic and safe for kitchen use.
When to Use This Method
This method is excellent for jars with sticky glue residues left after label removal or for labels that don’t come off easily with water alone.
3. Using Rubbing Alcohol or Isopropyl Alcohol
Why It Works
Rubbing alcohol is a solvent that dissolves adhesives quickly and evaporates without leaving residue.
Step-by-Step Process
-
Prepare the Alcohol:Use 70% or higher isopropyl alcohol. You can find this at pharmacies or supermarkets.
-
Apply Alcohol:Soak a cotton ball, paper towel, or cloth in rubbing alcohol.
-
Cover the Label:Press the soaked cloth onto the label or glue residue, ensuring it’s saturated.
-
Wait:Let it sit for 10-15 minutes to soften the adhesive.
-
Peel and Rub:Peel off the label. Use the cloth to rub off any remaining glue.
-
Wash the Jar:After removal, wash the jar with warm soapy water to remove any alcohol scent and residue.
-
Dry:Dry the jar thoroughly.
Tips for Success
-
Work in a well-ventilated area to avoid inhaling fumes.
-
Avoid open flames as rubbing alcohol is flammable.
-
Test on a small area first if unsure about the label type.
When to Use This Method
Ideal for stubborn adhesive residues or plastic labels that don’t respond to water soaking. Also useful for quick removal when time is limited.
4. Heating the Jar with a Hairdryer or Oven
Why It Works
Heat softens the glue, making the label easier to peel off without tearing.
Step-by-Step Process
Using a Hairdryer:
-
Set the hairdryer to high heat.
-
Hold it about 2-3 inches from the label and move it around to evenly heat the surface.
-
Heat for 3-5 minutes or until the label feels warm to the touch.
-
Carefully peel the label starting from one corner.
-
Use a cloth or scraper to remove any leftover adhesive.
Using an Oven:
-
Preheat the oven to 150°C (300°F).
-
Place the jar on a baking tray lined with foil.
-
Heat for 10 minutes.
-
Remove the jar using oven mitts (it will be hot!).
-
Peel off the label immediately while the glue is warm.
-
Clean any residue with soapy water or rubbing alcohol.
Tips for Success
-
Be cautious handling hot jars to avoid burns.
-
Avoid overheating, which could crack or weaken the glass.
-
This method works well for thick or laminated labels.
When to Use This Method
Best for tough labels that resist soaking and scrubbing. Also effective when you want quick results.
5. Freezing Method
Why It Works
Freezing causes some adhesives to become brittle and lose their stickiness, making the label easier to peel off.
Step-by-Step Process
-
Place the glass jar in the freezer for 4-6 hours or overnight.
-
Remove the jar and quickly try to peel off the label before it warms up.
-
If the label doesn’t come off easily, use a plastic scraper to lift it.
-
Wash the jar with warm soapy water to remove any glue residue.
-
Dry thoroughly.
Tips for Success
-
This method is less common but effective for certain glue types.
-
Works best with labels that peel off in large pieces.
When to Use This Method
Use when other methods fail or if you want to avoid chemicals and heat.
Additional Tips and Tricks for Label Removal
-
Use Plastic Scrapers:Plastic scrapers or old credit cards are perfect for lifting labels without scratching glass.
-
Avoid Metal Tools:Metal knives or razor blades can scratch or chip glass.
-
Commercial Adhesive Removers:Products like Goo Gone or WD-40 can be used for very stubborn glue but always wash jars thoroughly afterward.
-
Patience is Key:Sometimes soaking longer or repeating a method is necessary.
-
Sterilize After Cleaning:For food jars, sterilize by boiling or dishwasher cycles after label removal.
Why Paupacking’s Glass Bottles Are Ideal for Your Projects
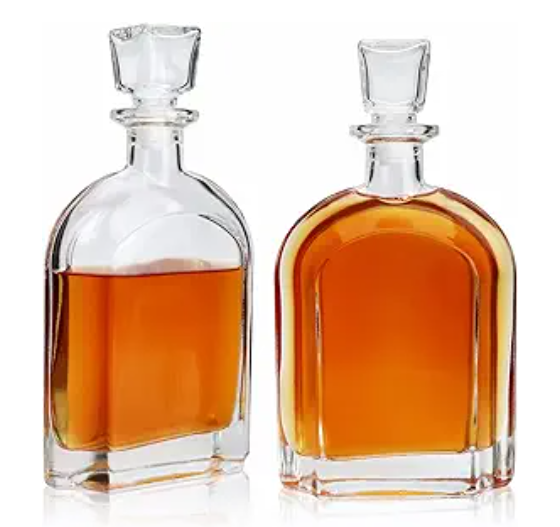
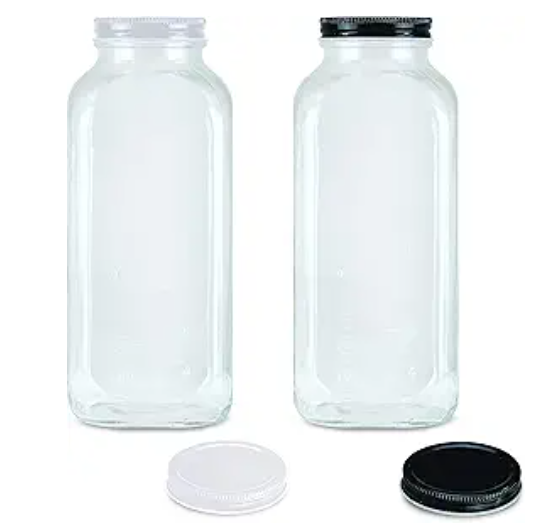
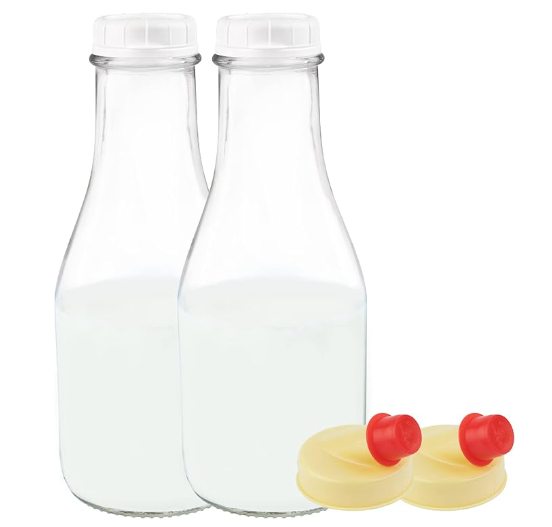
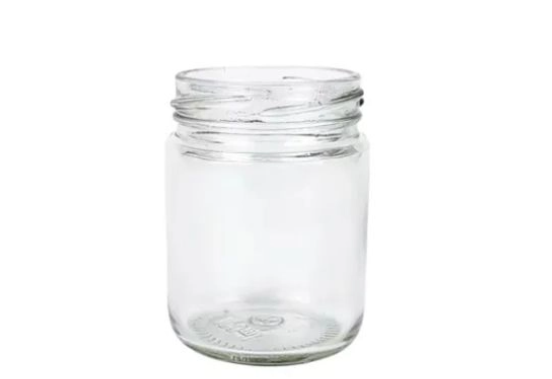
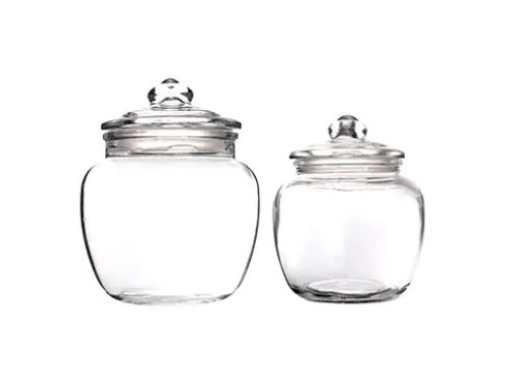
At Paupacking, we pride ourselves on offering a wide range of premiumGlass Bottlesand jars designed for versatility and durability. Whether you’re a small business owner, DIY crafter, or simply someone who appreciates quality packaging, our products meet the highest standards.
-
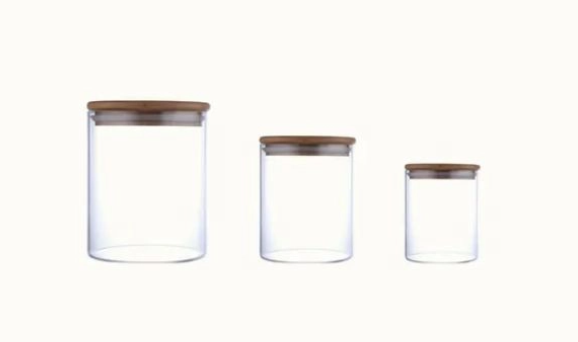
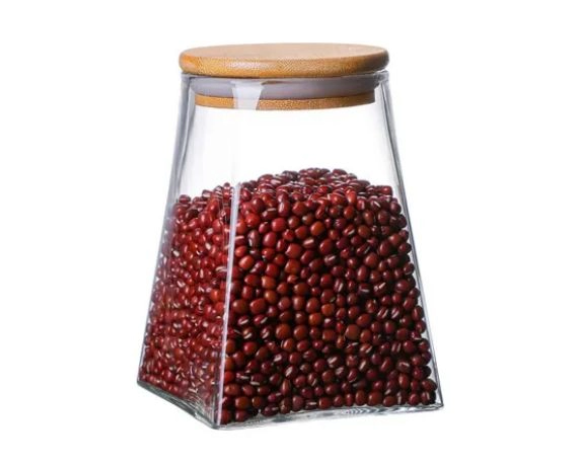
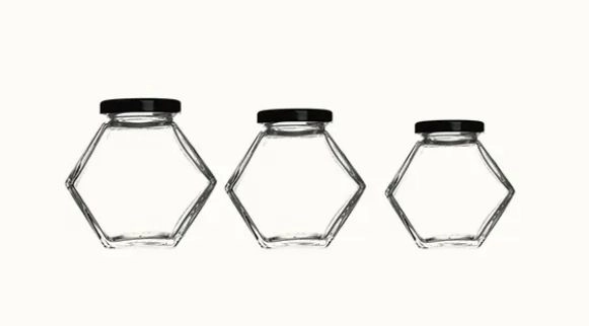
Variety of Sizes and Styles:From small spice jars to large storage containers, we have options to suit every need.
-
Eco-Friendly Materials:Our glass is 100% recyclable and reusable, aligning with sustainable practices.
-
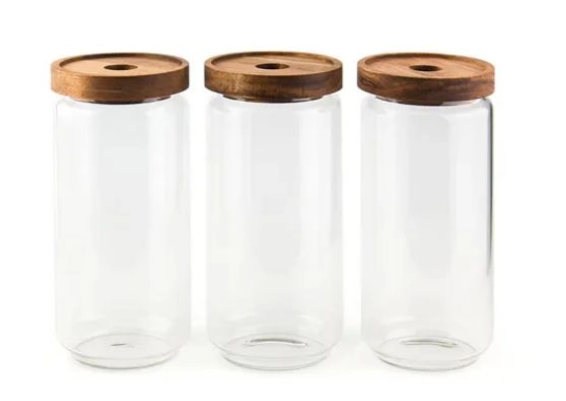
Customizable:Smooth surfaces make our jars perfect for label application or direct printing.
-
Secure Lids:Many jars come with airtight bamboo or metal lids to preserve freshness.
-
Perfect for Label Removal:Our jars are designed with smooth glass surfaces that make label removal easier and cleaner.
Explore our full collection ofGlass Bottlesto find the perfect packaging solution.
Comprehensive Comparison Table: Label Removal Methods
| Method | Effectiveness | Time Required | Materials Needed | Best For | Notes |
|---|---|---|---|---|---|
| Hot Soapy Water | Moderate | 20-60 minutes | Dish soap, hot water | Paper labels | Gentle, eco-friendly, requires patience |
| Baking Soda + Cooking Oil | High | 15-30 minutes | Baking soda, vegetable oil | Sticky glue residue | Natural, may leave oily residue |
| Rubbing Alcohol | High | 10-15 minutes | Isopropyl alcohol or spirits | Adhesive residue | Quick, requires ventilation |
| Heat (Hairdryer/Oven) | High | 10 minutes | Hairdryer or oven | Thick or laminated labels | Fast, handle hot jars carefully |
| Freezing | Moderate | 4-6 hours | Freezer | Cold-sensitive adhesives | Simple, chemical-free |
Final Thoughts
Removing labels from glass jars doesn’t have to be a frustrating chore. With the right techniques, you can restore your jars to a clean, reusable state suitable for storage, gifting, or resale. Whether you prefer natural methods like soaking and baking soda paste or faster approaches using rubbing alcohol or heat, there’s a solution for every type of label and adhesive.
Remember, investing in high-quality glass jars like those from Paupacking’sGlass Bottlescollection makes the process easier and more rewarding. Our jars are designed to be durable, elegant, and easy to maintain—perfect for your packaging and storage needs.
We hope this guide empowers you to confidently remove labels from your glass jars and enjoy the many benefits of reusing these versatile containers. For more information or to shop our selection, visit Paupacking’sGlass Bottlespage today.
If you need further assistance or personalized advice on jar care and packaging solutions, feel free to contact Paupacking’s customer service team. We’re here to help you make the most of your glass jars!